Adding float and nacelle
Another quick look at the model in Fusion360:
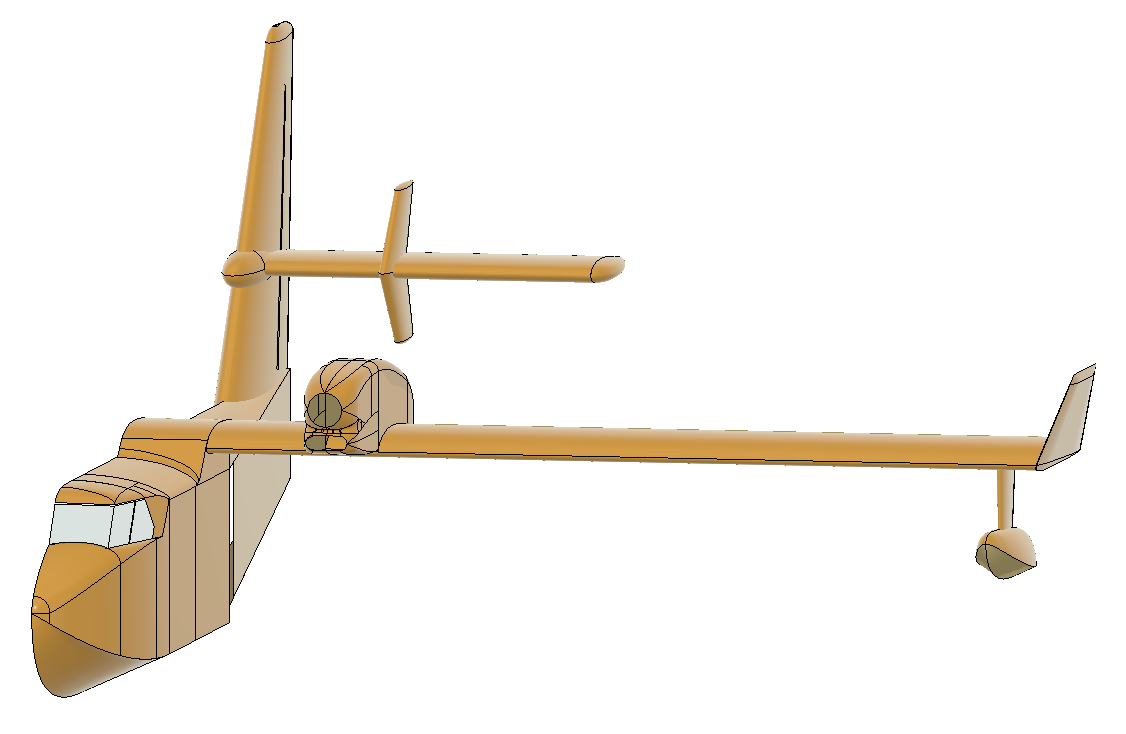
As you can see, this time the floats and the nacelle were added.
The float were surprisingly easy, but the nacelle proved to be a very stubborn subject.
The problems with the nacelle are three fold:
- I do not have a good drawing of them. The seawings drawings are ok, but because the wing is different, it cannot be used as is. Besides, I had to make a decision about the spinner size. I will be using the ramoser vario-prop and the biggest spinner size for them is 50mm. Hence I had to adjust the size of the prop opening this.
- The ‘loft’ tool of fusion360 hides a lot of complexity that one does need to know -at least in its effects. This took the most time. Time and again the lofts I produced did not fit/match what was needed. In the final model shown above, there are still some imperfections. But these are of the sub-millimeter kind that will be completely corrected/obscured while building. They should be impossible to see in the final product.
- It was necessary to go through a series of iterations until I achieved a look that was the same as in the pictures. Trouble was, these iteration take about 4 to 6 hours each before the result could be compared to a picture. Doing just a couple of them easily costs days of work.
On the risk of becoming too Fusion360-technical, I do want to summarize the loft experiences I made:
-
Always try to create a loft adjacent to a face, and use the edge of the face as profile or rail. Oftentimes it is easy to use a sketch line as profile or rail, but these do not allow the fine-grained adjustments for G. If necessary, create a helper face by extruding a line.
-
When creating a loft as a fillet between two faces, try to use a rail in the middle. If the faces are flat, use the G1 (tangent) on the face edge (either profile or rail).
-
On complex shapes, create a number of planes & sketches at right angles to the shape. After the shape is ‘lofted’, go back to the sketches, intersect with the shape, and then improve the rails/profiles as needed. With little experience, three iterations should get you to the desired end result.
-
If there are a lot of spline profiles/rails, make sure the splines handles are of a fixed length & orientation, or in a steadily (i.e. mathematical formula) increasing cq decreasing sequence. This produces in my experience the smoothest resulting lofts.
And don’t be afraid to experiment…
Next up: I have to add lots of detail to the model. Things that I glossed over in my rush to get the overall shape correct. Things like: flaps, elevator, rudder, ailerons, wheel bays and the nacelle is not entirely complete either.
So from here on the model will probably remain fairly much the same, even though lots of work is still necessary.